How to Add Syntax Highlighting to Code Blocks in your Gatsby Blog Using PrismJS
Written by Brian
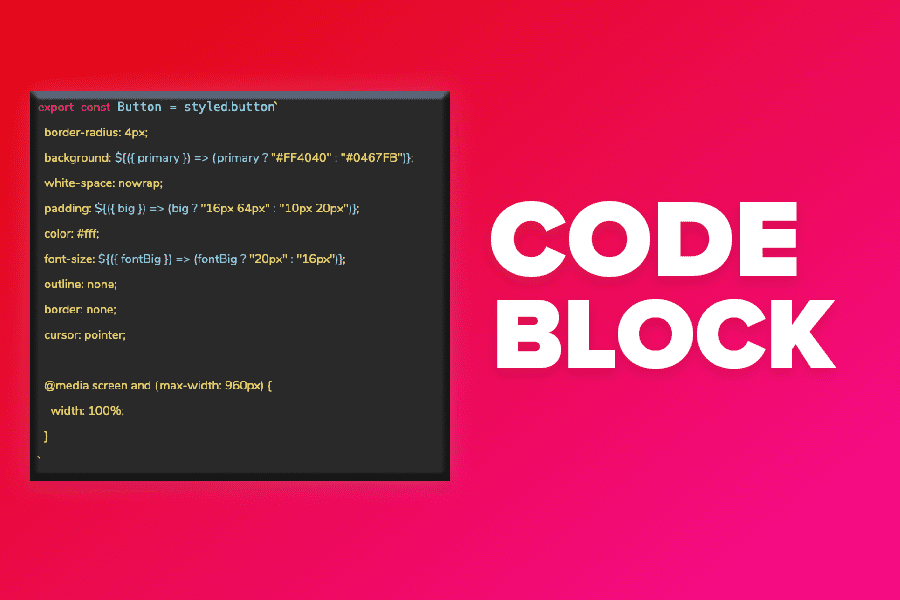
Have you ever wondered how people add custom code blocks inside of their blog posts?
Just like this one below.
export const Button = styled.button`
  border-radius: 4px;
  background: ${({ primary }) => (primary ? "#FF4040" : "#0467FB")};
  white-space: nowrap;
  padding: ${({ big }) => (big ? "16px 64px" : "10px 20px")};
  color: #fff;
  font-size: ${({ fontBig }) => (fontBig ? "20px" : "16px")};
  outline: none;
  border: none;
  cursor: pointer;

  @media screen and (max-width: 960px) {
    width: 100%;
  }
`
There are multiple ways to achieve this effect. You could add custom CSS code and style it yourself. However, there is a much easier way to implement this if you are using Gatsby.
Note this method only works if you are building your blog using Gatsby.
The first thing you will need to do is install PrismJS.
NPM Install
npm install --save gatsby-transformer-remark gatsby-remark-prismjs prismjsIf you use Yarn, then use this code
yarn add gatsby-transformer-remark gatsby-remark-prismjs prismjsNext, you will need to add this code into your plugins in your gatsby-config.js file. The code below is directly from GatsbyJS documentation
// In your gatsby-config.js
plugins: [
{
resolve: `gatsby-transformer-remark`,
options: {
plugins: [
{
resolve: `gatsby-remark-prismjs`,
options: {
// Class prefix for <pre> tags containing syntax highlighting;
// defaults to 'language-' (e.g. <pre className="language-js">).
// If your site loads Prism into the browser at runtime,
// (e.g. for use with libraries like react-live),
// you may use this to prevent Prism from re-processing syntax.
// This is an uncommon use-case though;
// If you're unsure, it's best to use the default value.
classPrefix: "language-",
// This is used to allow setting a language for inline code
// (i.e. single backticks) by creating a separator.
// This separator is a string and will do no white-space
// stripping.
// A suggested value for English speakers is the non-ascii
// character '›'.
inlineCodeMarker: null,
// This lets you set up language aliases. For example,
// setting this to '{ sh: "bash" }' will let you use
// the language "sh" which will highlight using the
// bash highlighter.
aliases: {},
// This toggles the display of line numbers globally alongside the code.
// To use it, add the following line in gatsby-browser.js
// right after importing the prism color scheme:
// require("prismjs/plugins/line-numbers/prism-line-numbers.css")
// Defaults to false.
// If you wish to only show line numbers on certain code blocks,
// leave false and use the {numberLines: true} syntax below
showLineNumbers: false,
// If setting this to true, the parser won't handle and highlight inline
// code used in markdown i.e. single backtick code like `this`.
noInlineHighlight: false,
// This adds a new language definition to Prism or extend an already
// existing language definition. More details on this option can be
// found under the header "Add new language definition or extend an
// existing language" below.
languageExtensions: [
{
language: "superscript",
extend: "javascript",
definition: {
superscript_types: /(SuperType)/,
},
insertBefore: {
function: {
superscript_keywords: /(superif|superelse)/,
},
},
},
],
// Customize the prompt used in shell output
// Values below are default
prompt: {
user: "root",
host: "localhost",
global: false,
},
// By default the HTML entities <>&'" are escaped.
// Add additional HTML escapes by providing a mapping
// of HTML entities and their escape value IE: { '}': '{' }
escapeEntities: {},
},
},
],
},
},
]PrismJS has default theme colors that you can use right away.
If you don't have one already, you will need to create a gatsby-browser.js file.
Once you have created your gatsby-browser.js file, navigate over to it and add this code.
require("prismjs/themes/prism-solarizedlight.css")Next you will need to create an MDX file. If you already have one, just navigate over to it and add this code to your file.
```jsx

export const Button = styled.button`
  border-radius: 4px;
  background: ${({ primary }) => (primary ? "#FF4040" : "#0467FB")};
`

```
Note that the ```jsx and the closing ``` code is how you create the code blocks within your mdx post. Then you would just add your code inside of it.
Then simply start up your server using gatsby develop and take a look at your post to see the code block created.
PrismJS has additional themes that you have to install in order to use them.
You can check out all of their additional themes here
In order to use these themes, you will need to create a css file and then import that file in your gatsby-browser.js file.
Step 1: Create a themes folder inside of your src.
src / themesStep 2: Create a css file. I named mine prism-xonokai.css because the theme I am using is xonokai
"src/themes/prism-xonokai.css"
Step 3: Import the CSS from the theme you selected into your newly created CSS file. You have to click into the theme of your choice to see the CSS code. You can get the code for the theme I am using (Xonokai) here
Step 4: Import your CSS file into your gatsby-browser.js file
import "./src/themes/prism-xonokai.css"Then, restart your server and check out your post. You will notice that the code block has changed colors based off your theme choice.
If you run into any issues, feel free to send me a message!
Also, I'm documenting everything I'm learning and the projects I'm building on my Youtube channel. If you want to follow me along my coding journey, be sure to subscribe here