React Navbar Tutorial - 3 Designs
Written by Brian
Learn how I built a React Navbar with three different designs. You can easily refactor the code to fit your own design.
You can access the complete source code down below.
I created these React Navbar's using styled components and React hooks. I used React Router, so you can navigate to different pages in your website. You can also use Reach Router for navigation as well.
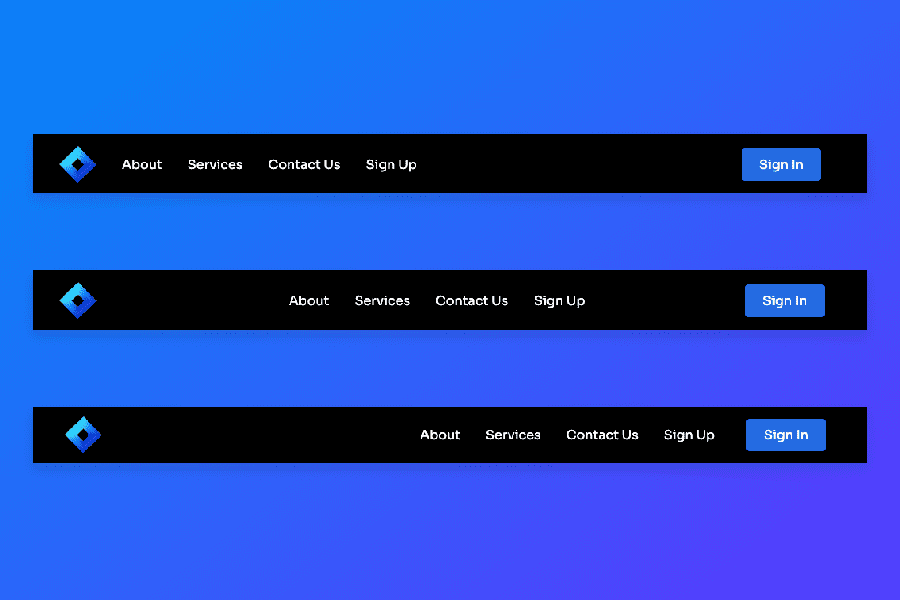
The first design has the nav links located in the center of the navbar. The second design has the nav links located at the end of the navbar. Lastly, the final design has the links positioned at the start of the navbar.
Make sure you follow the styles of the first navbar because I refactor the styling at the end of my tutorial to display the other two designs.
In order to get started, simply create a React app in your terminal
npx create-react-app react-navbarThen, you can cd into your project.
cd react-navbarIf you are using VS code and have the auto open set up, then you can type this to automatically open your code editor. If you're not using VS code, then you can ignore this code.
code .Once you've opened up your code editor, you will want to install React Router and styled components. If you have yarn, you can just type yarn add instead of npm install.
Install React Router
npm install react-router-domInstall Styled Components
npm install --save styled-componentsOnce you have everything installed, you can start coding.
I created a full step by step tutorial showing how I created everything on Youtube.
Watch the full tutorial on Youtube here
Also, I'm documenting everything I'm learning and the projects I'm building on my Youtube channel. If you want to follow me along my coding journey, be sure to subscribe here